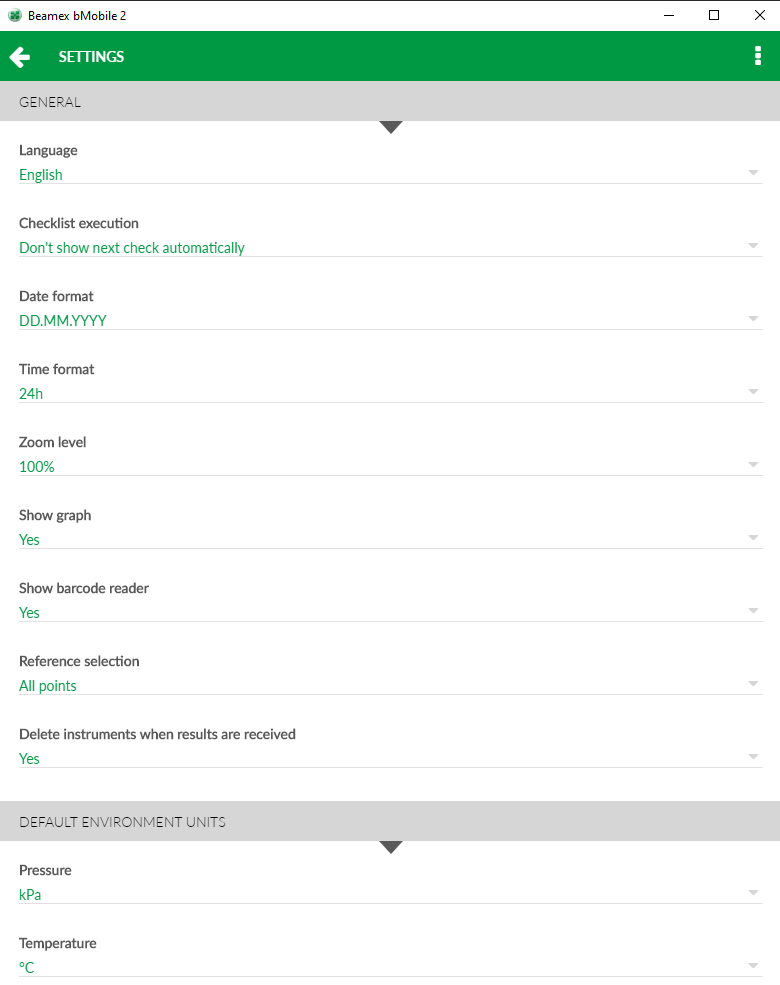
Using bMobile
Working with bMobile
Following section is a straight forward instruction how to use bMobile daily to perform a calibration. Some sections are not discussed in this help file, but are found from a separate user guide.
Sync
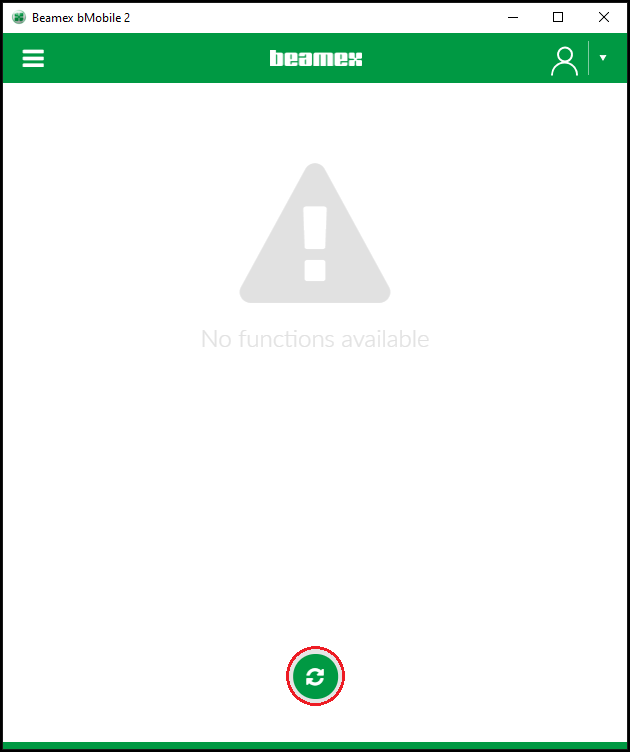
While you are signed into bMobile, you can sync new work to bMobile or results back to LOGiCAL by tapping the sync button in the Instrument list view.
Note!
Instruments or results are not removed from the mobile device automatically when syncing. You need to remove them manually. See Delete for more information
Select instrument for calibration
After syncing, calibration tasks assigned to you will appear in the instrument list view:
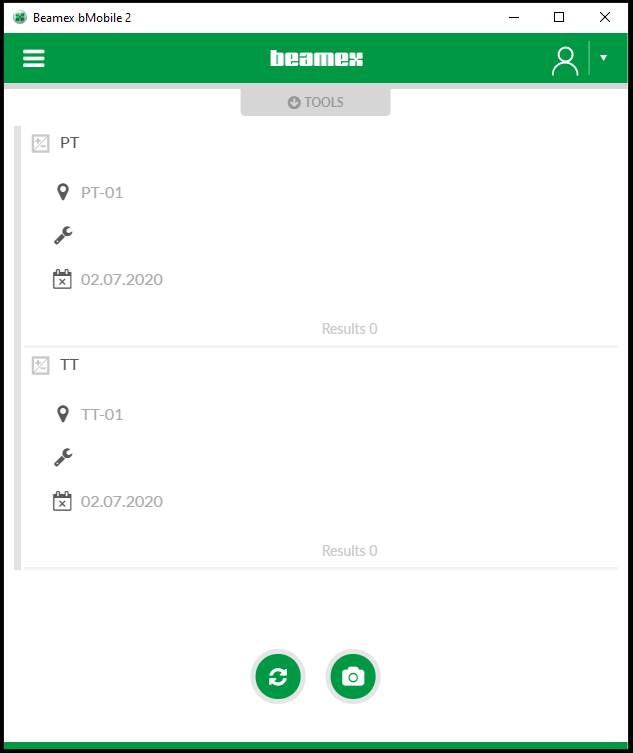
Select an instrument from the list. Following view shows more details of the instrument to be calibrated.
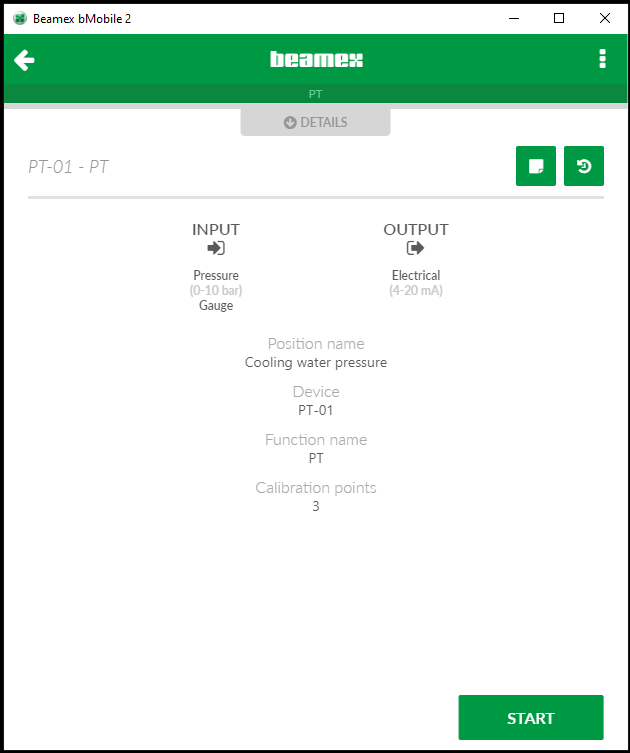
Tap START to begin the calibration execution.
Perform calibration
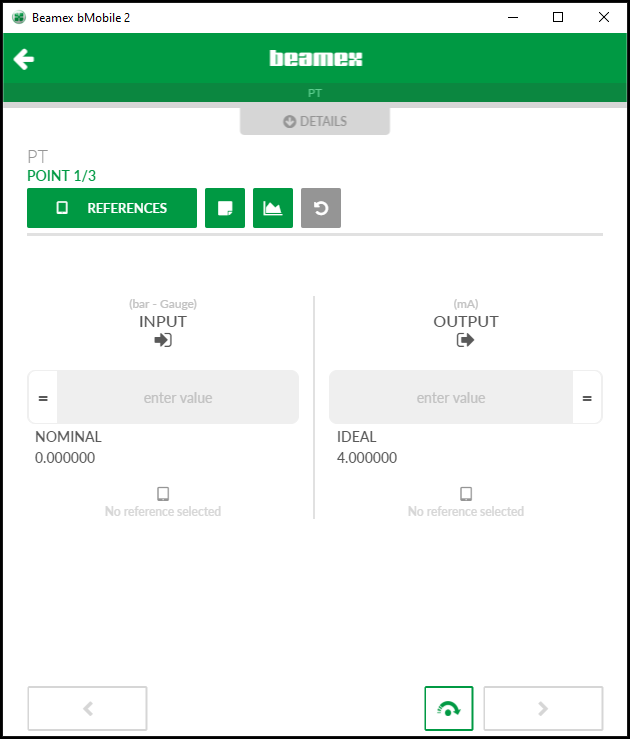
In the calibration view you select the references used as well as calibration points.
Select references
Tap REFERENCES to select the reference for input and/or output.
Note!
For, e.g. indicators there is no reference, so it is not possible to select a reference for the output.
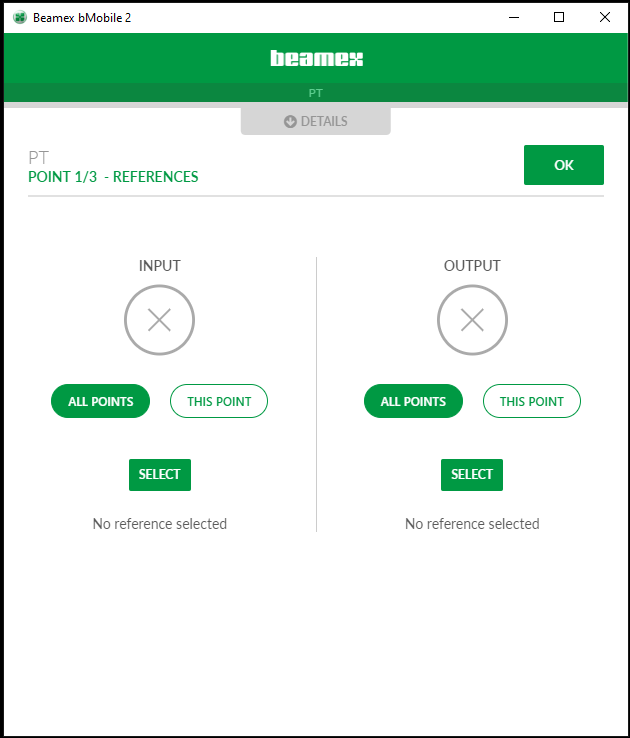
Next you select whether you like to select your reference for all calibration points or just the current calibration point. Once you have chosen this, tap SELECT.
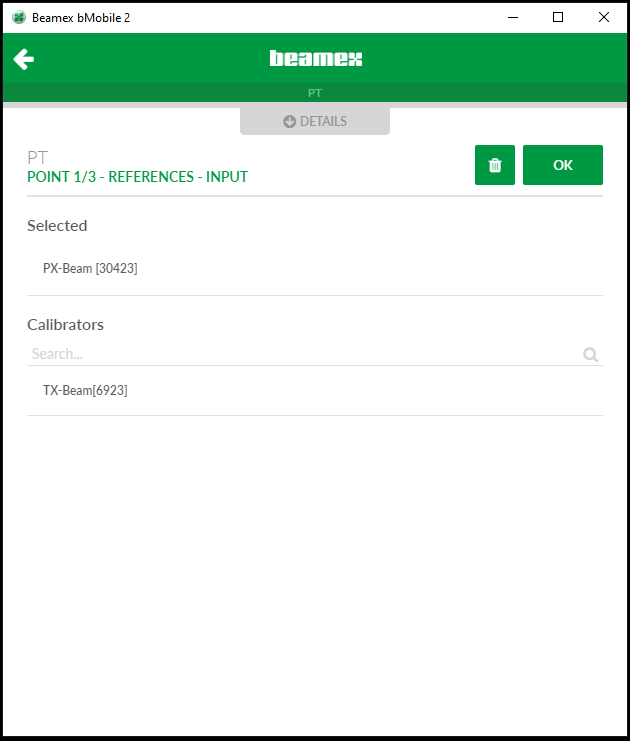
Following view lists all references created into LOGiCAL for your organization. Select one or several references you use for your input or output during calibration. Selected calibrators are listed under "Selected" header. Once you are ready, tap OK.
Note!
If the calibration due date has passed for a reference, it is shown in red in the list of references. bMobile warns you if you try to use an overdue calibrator.
Note!
For Beamex documenting calibrators listed in the references list, also calibrator module (e.g. chosen pressure module) can be selected.
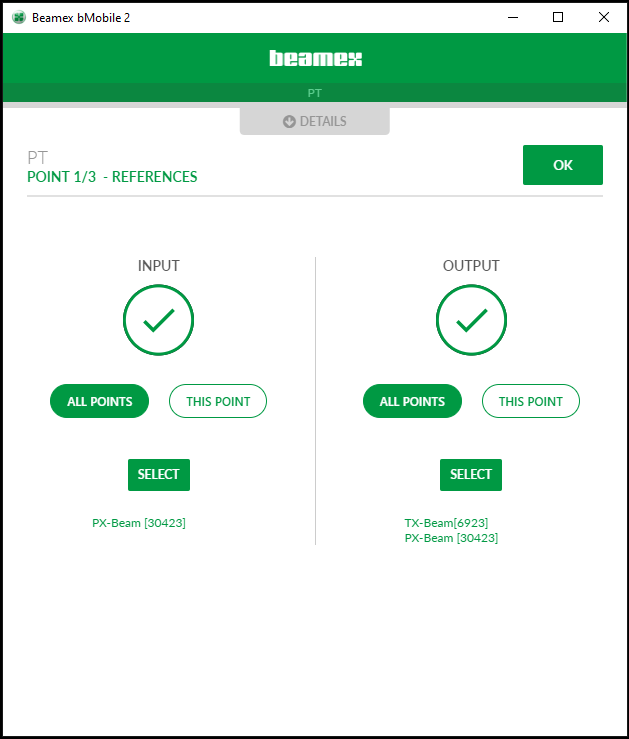
Once you have selected your references, they are listed below input and / or output. Tap OK. to return back to the calibration main view.
Enter calibration points
Once the references have been defined, enter input and output readings. Then the advance button is activated and you can continue entering the readings of following calibration points.
As the calibration advances, you can see which point you are currently entering results for from the text in the upper part of the window: "POINT 1/3".
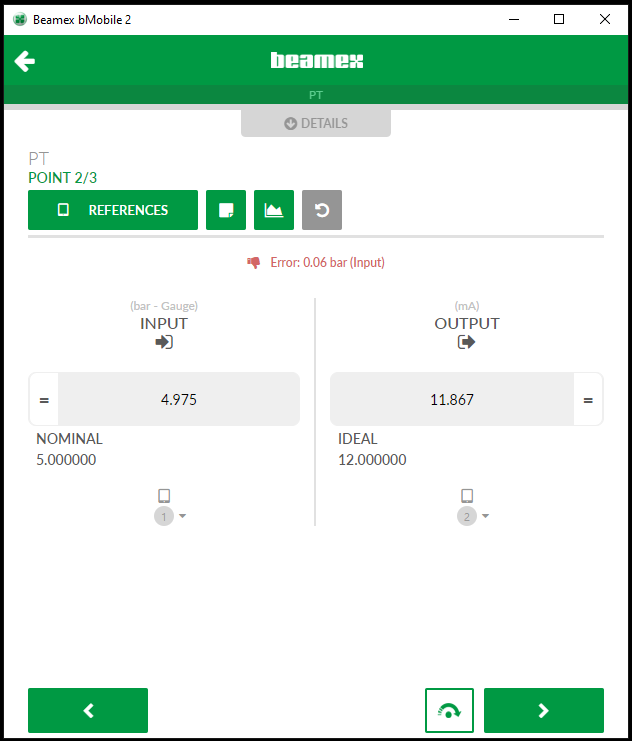
For each calibration point, a note may be given by tapping on the Note icon. The provided note is shown in LOGiCAL's calibration result and in the calibration certificate.
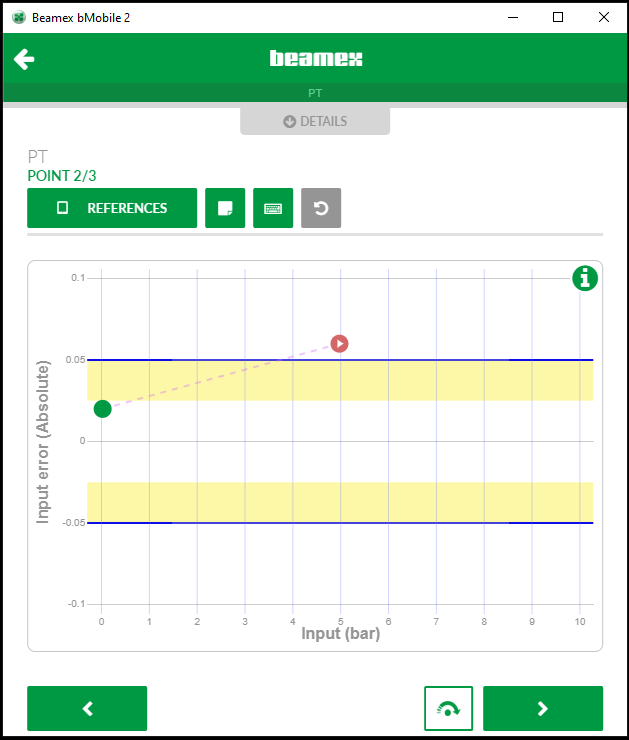
You can toggle the graph view by tapping the graph button:
Note!
Tap on a point in graph to see point details. Tap on the info button to see the graph legends.
Save calibration result
Once all calibration points have been documented, an overall result page is shown. You can expand and collapse the menus by tapping on them in the view. Below picture shows the Point details expanded but others are collapsed.
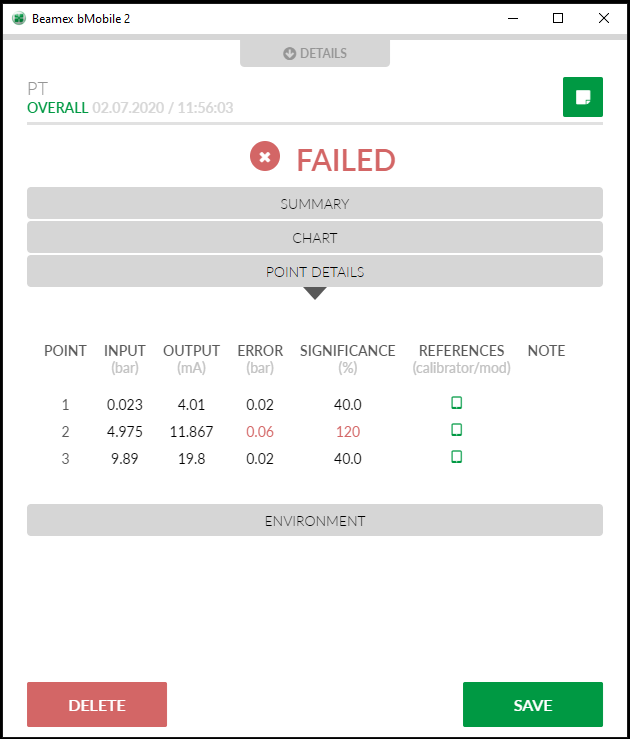
In the top right corner there is a note button. Here you can enter an overall note for the calibration result. Tap the ENVIRONMENT to add Worktime and environmental details during calibration.
Once you are done, tap SAVE
You are provided with the saving options. Choose the Calibration repeat type between as found, as left or as both (copies same data to both as found and as left repeats).
You can change the calibration execution date and time, if you are scribing a result from a paper certificate to LOGiCAL (from a vendor calibration).
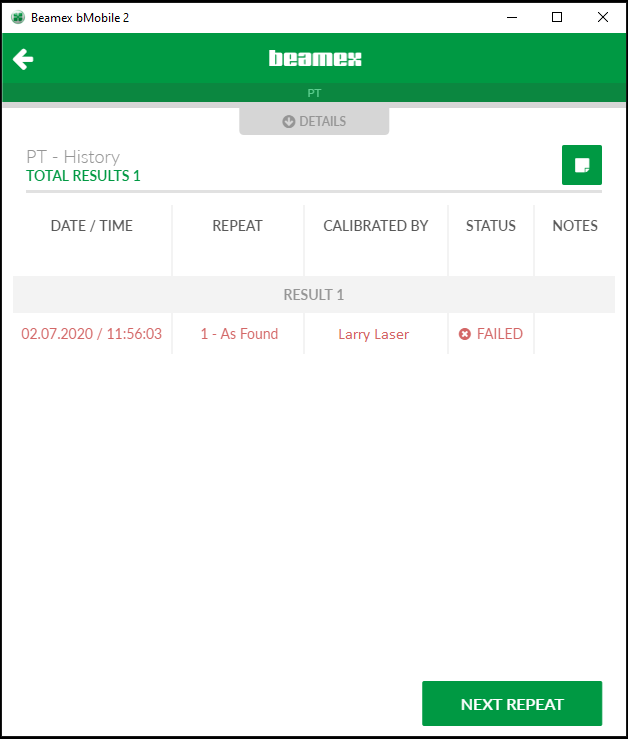
Tap SAVE. You are taken to the instruments calibration history view. Tap the arrow on top left corner twice to return to the instrument list view.
Delete
Delete results from bMobile
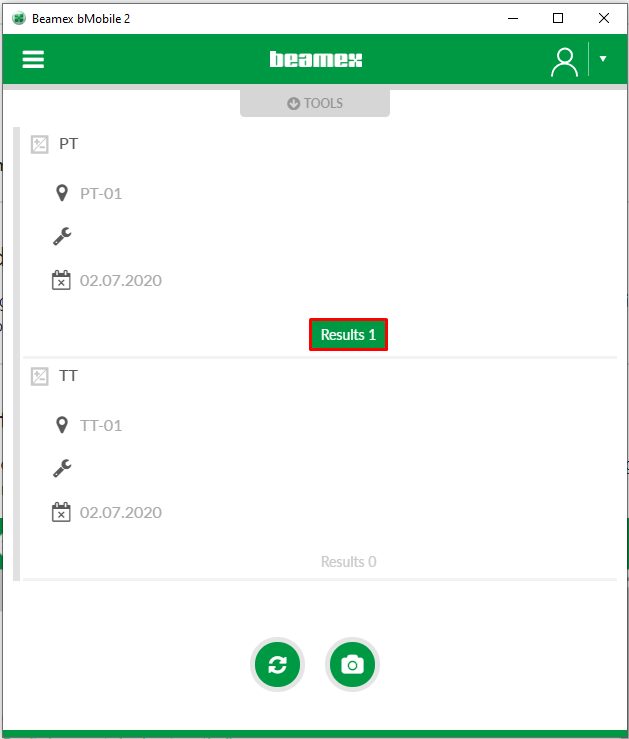
To delete a result from bMobile, open the result first. From the instrument list view, you can tap on Result button:
From the instrument's calibration history view, tap on the calibration repeat you want to delete.
The result opens up. Tap DELETE to remove the result.
Delete one instrument from bMobile
- From the instrument list view, tap on the instrument you want to remove (instrument can contain results.)
- Tap the three vertical dots in the top right corner and select Delete this function.
Note!
Any result under this function will also be removed.
Delete all instruments and results from bMobile
- While on the instrument list view, tap the menu button on the top left corner (three vertical lines).
- Tap delete all and confirm the action. All instruments and results are removed.
Reset factory settings
If you for some reason need to restore factory settings to bMobile, you can do it by opening settings and tapping the three vertical dots in the top right corner:
