Example - Temperature instrument creation
In this example, we go through creation of a temperature instrument, which is going to be calibrated using Beamex MC6 calibrator together with a calibrated temperature sensor.
The sensor and it's details have already been created into the References section and this example only handles the instrument creation part.
Example starts by clicking + ADD in the navigation pane.

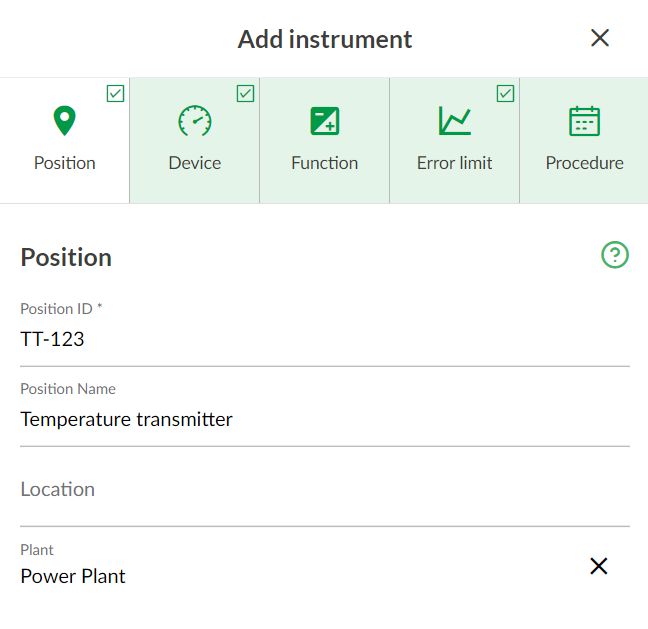
Add position information
Position TT-123, is created into plant node "Power plant A"
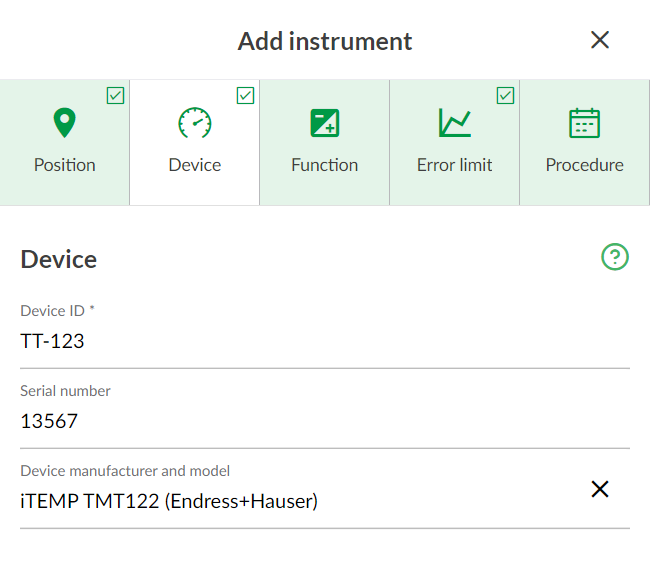
Add device information
Device ID is kept the same as Position ID, Device Manufacturer and serial number details are added.
Add function input information
- A name is given for the function
- Input quantity is defined as temperature, with 0-100 °C range.
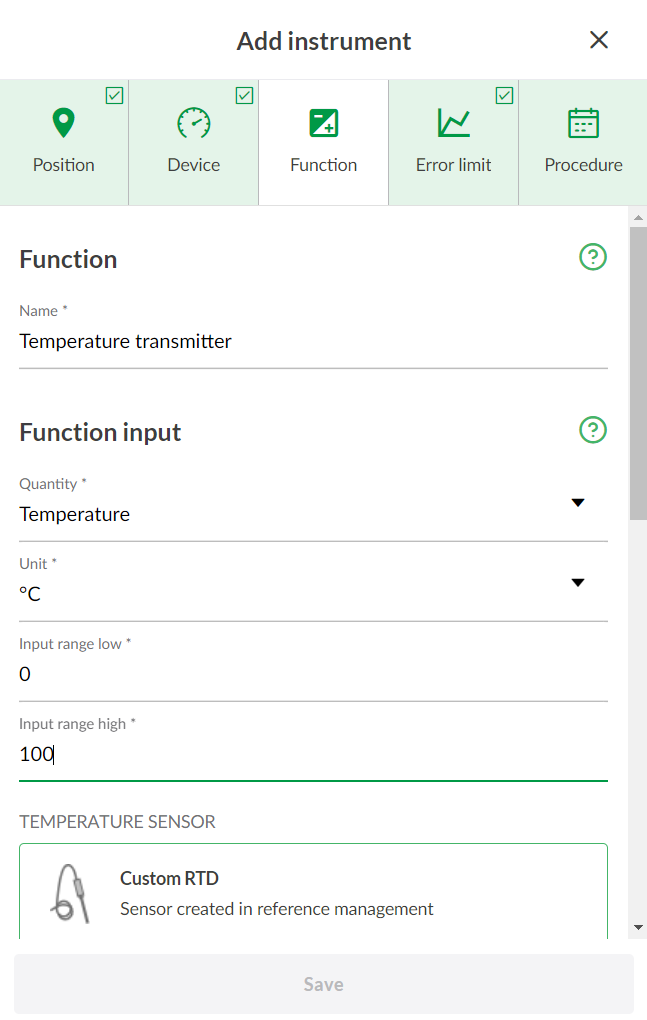
Select sensor type for function input
Click Add Sensor type
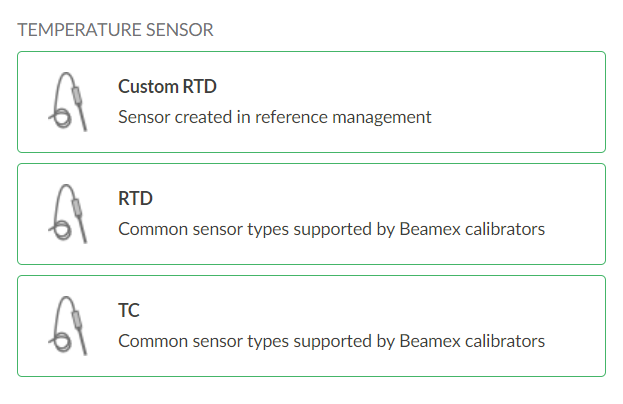
Click Custom RTD . A new dialogue opens up, from where the created reference sensor can be selected. This dialogue will list all reference sensors created in the References section. Here we have only one IPRT sensor available, so we select that one.

Now, the MC6 calibrator will receive and use the sensor coefficients when the calibration is being performed.
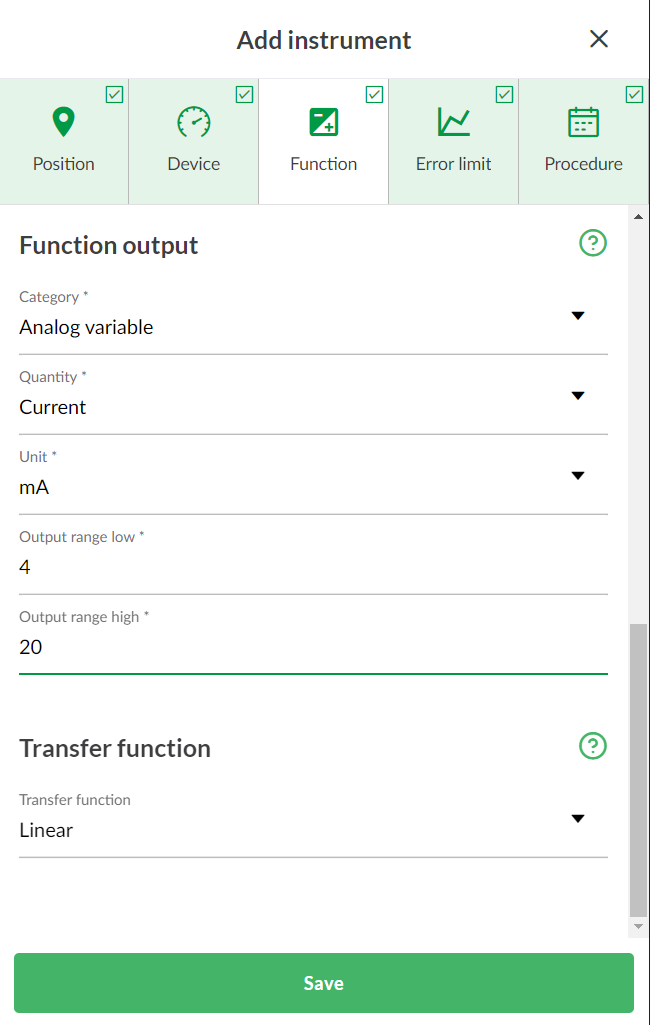
Add function output information
After selecting the sensor, we fill in the function output side. This is a temperature transmitter with 4-20mA output, so we fill the fields accordingly as shown below.
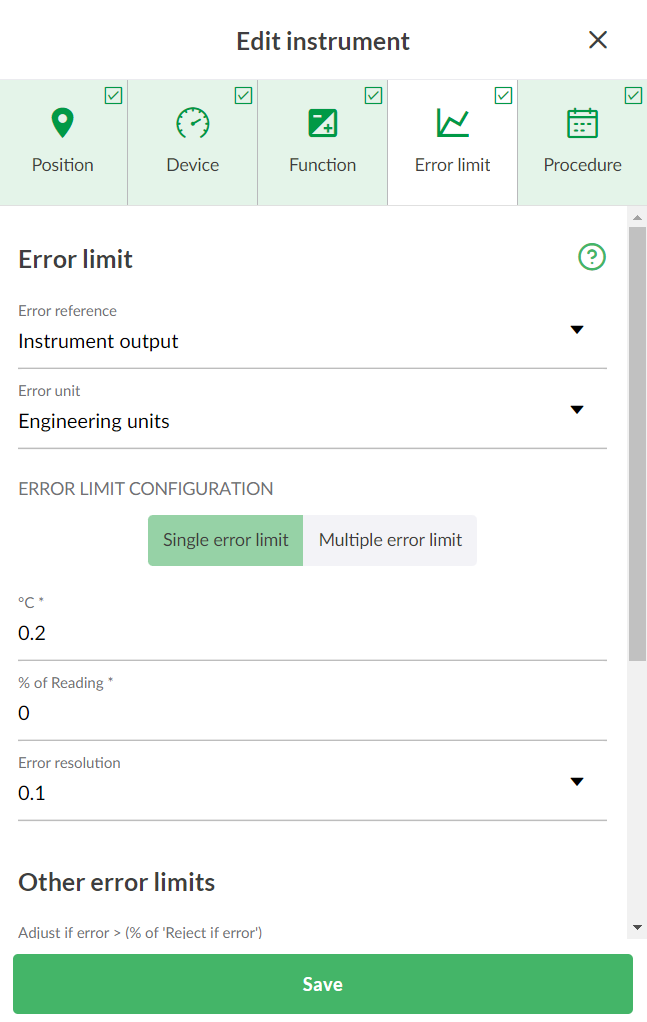
Add Error limit information
According to our process, this instrument should be within +/- 0,1 °C tolerance, so we set the error limit
- As we want to show the error in °C, we need to select the error reference as Instrument input, and Error unit is set to Engineering units.
- Error limit is constant 0.1
- The error will be rounded to 2 decimal points.
- A notification is given for the technician that he should perform adjustment, if the calibration is passed, but error is more than 80% of the error limit (> 0.08 °C)
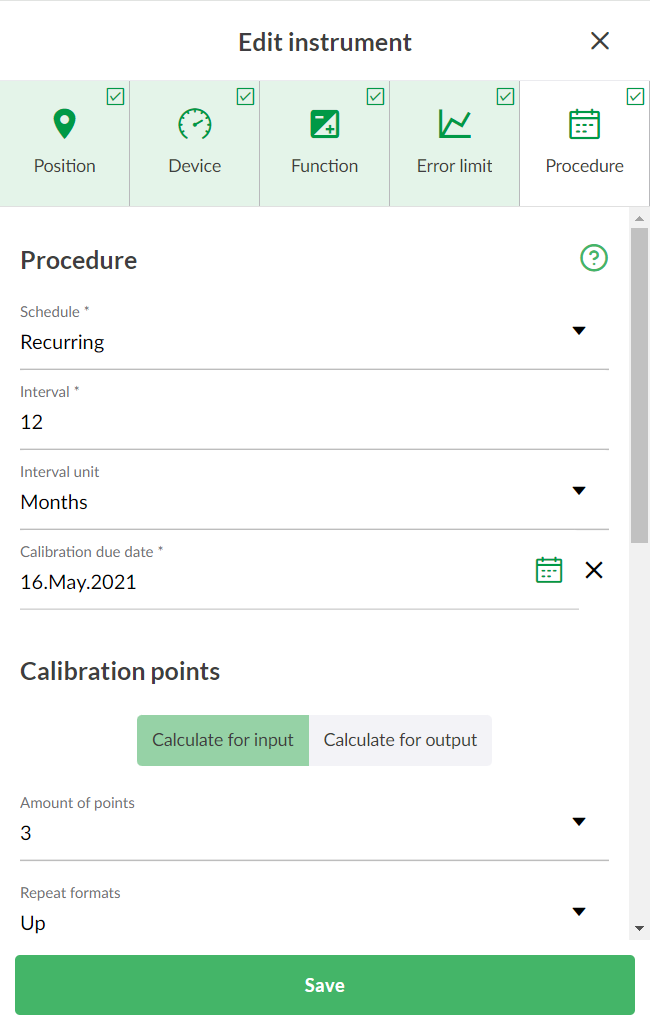
Procedure information
- Next, we fill in the due date for the calibration together with the calibration interval information.
- This calibration is performed at 0, 50% and 100% of range, that is why we have selected amount of points: 3 and repeat format as -up. After this is done, it is time to click Save instrument.
Assign
After the instrument is saved, you can assign the instrument for calibration.